What is Guiding?
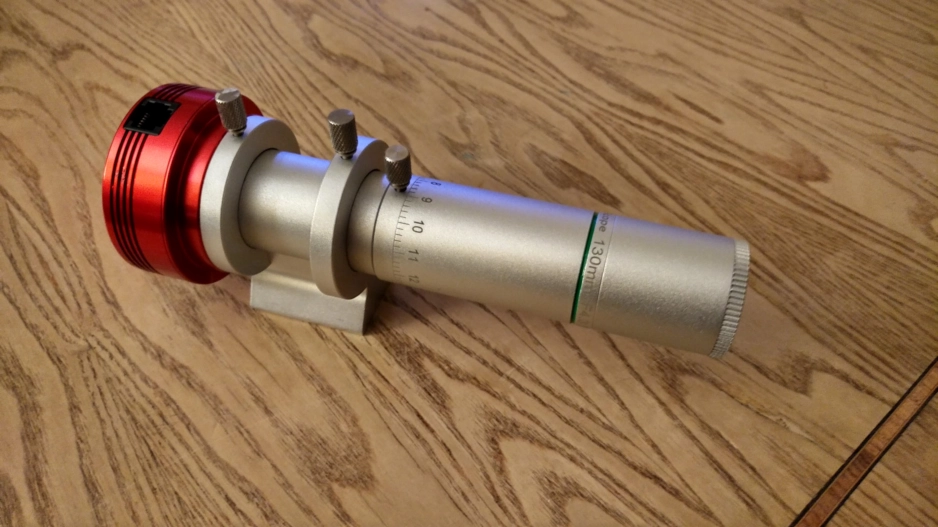
Guiding is the process of keeping an object being imaged dead centre in the telescope to allow for long exposures. The guidescope and guide camera are fixed to your telescope and the guide camera is connected to your mount and some software on your laptop or remote PC dependant on how you’re connected. The guide camera is fixed on to a star and the software analyses the feed and sends minute “push” signals to your mount to keep this star centred on the screen. Because the star is (closely) moving at the same rate as the object that you’re imaging through your telescope, by keeping the star centred in the guide camera, the object being imaged through the telescope is kept centred. This means that you can take as long an exposure as your equipment will allow.
What You Will Need:
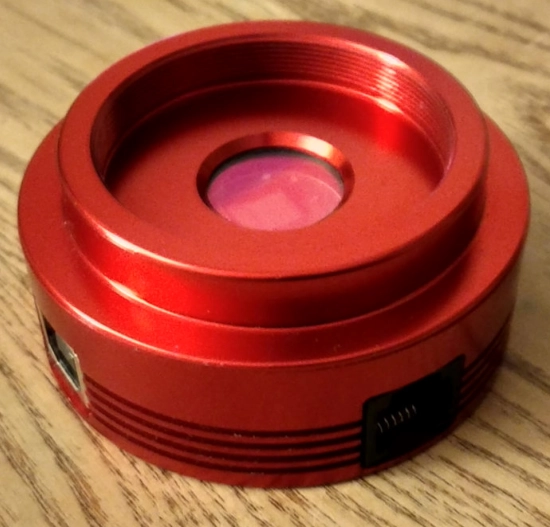
•A guide camera
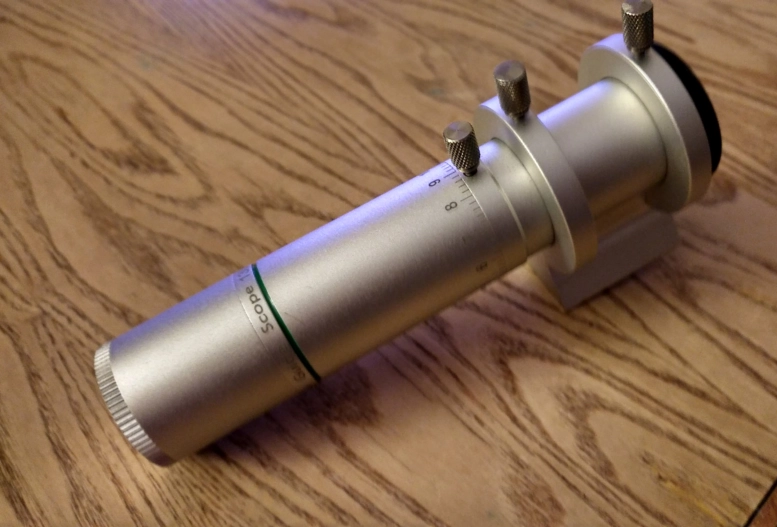
•A guidescope
•A laptop and or any of these: mini PC / Raspberry Pi / ASIair or similar
•Guiding software, Please see the Links page here for software options
You will notice two ports on the camera above. One connects the camera to the mount and this is called the ST4 port. The other connects to the USB port to talk to the guiding software on your laptop/miniPC/Raspberry pi etc... The way it works is like this
•Connect your camera to the mount and laptop.
•Start the guiding software and initialise the camera by selecting it in the menu.
•Loop the camera and select a star to guide on, or use the auto select function.
•The software will now do some calibrations by moving the star in the East, West, North and South directions.
•Once the calibration has completed you will now be guiding on the selected star and good to go.
•The camera sends consecutive short exposures to the guiding software, usually around 3 seconds.
•The guiding software analyses each image received from the guide camera and notices any movement of the star.
•The software sends a signal to the mount via the camera and tells it to move in the opposite direction to counteract the movement of the star, thus keeping the star (and your telescopes target) bang in the centre.
Congratulations, you’re now guiding!!!
If you connect your equipment to either a mini PC / Raspberry Pi / ASIair or something similar then you can lose the camera to mount cable and utilise a setting called “Pulse Guiding”. This setting can only be used if your mount is connected directly to one of the above devices. It sends the correction “pulse” directly to the mount instead of via the camera and this can help with cable control. Follow this link to read about remote mount control.


